
Introduction
A poorly planned ClickUp hierarchy is the number one reason teams fail to adopt the platform. Without a logical structure, information gets lost, notifications become noise, and the tool that promised clarity becomes a source of chaos. This guide provides a blueprint for structuring your workspace correctly from the start.
You will learn the fundamental layers of the ClickUp hierarchy. We will explore inheritance that governs how your settings work. Most importantly, you will get a step-by-step plan to build a structure that mirrors your organization's real-world operations.
Key Takeaways
- Build your ClickUp hierarchy to reflect your real-world departments, teams, and projects.
- Settings like custom fields and statuses cascade down from higher levels; always apply them at the lowest relevant level to keep things clean.
- Start with a lean setup.
- Diagram your structure before creating anything in ClickUp to avoid confusion and future restructuring.
- If a List has fewer than 20 active tasks, consider merging it with others and using custom fields to differentiate items.
- Stick to a maximum of three levels (Task → Subtask → Nested Subtask) to prevent complexity and maintain clarity.
The 5 Layers of the ClickUp Hierarchy
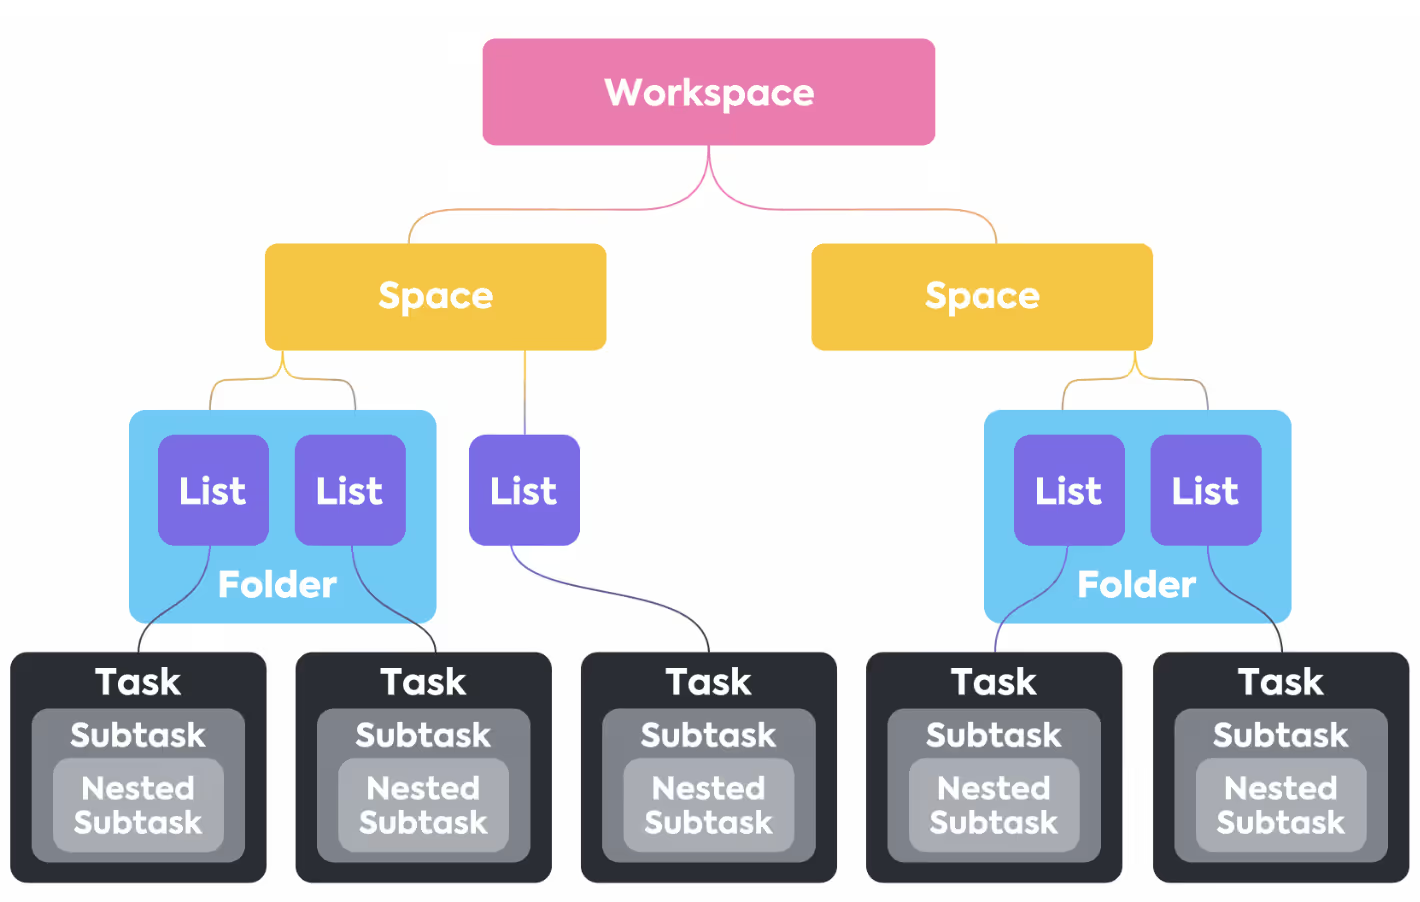
ClickUp's structure is built on a nested system. Understanding each layer's purpose is the first step to building a powerful workspace.
ClickUp's hierarchy
Level 1: Spaces
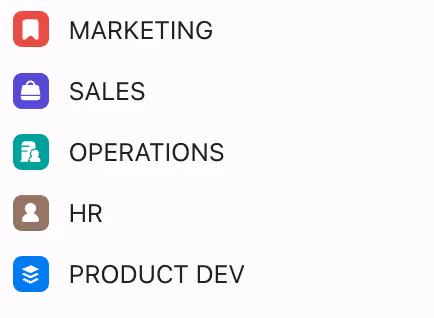
Spaces are the highest-level organizational containers within your workspace. They create clear boundaries between distinct operational areas. Good examples of Spaces include:
- Marketing
- Sales
- Operations
- Human Resources
- Product Development
Departments as ClickUp Spaces
Each Space can have its own members, settings, and ClickApps. This allows your marketing team to have a different set of priorities and custom fields than your engineering team, keeping each environment clean and relevant.
Level 2: Folders
Folders live inside Spaces and serve one primary function: to group related Lists. If a Space is your "Marketing" department, Folders might represent major initiatives or teams within that department. They are an optional but highly useful layer of organization.
Inside the "Marketing" Space, you might create Folders such as:
- Content Creation
- Paid Advertising
- Brand & PR

Folders within a Space
Level 3: Lists
Lists are where your work actually lives. A List is a collection of tasks that make up a specific project, workflow, or process. A List can exist directly inside a Space or be organized within a Folder. Within the "Content Creation" Folder, you could have Lists for:
- Blog Articles
- Newsletter Campaigns
- Social Media Calendar
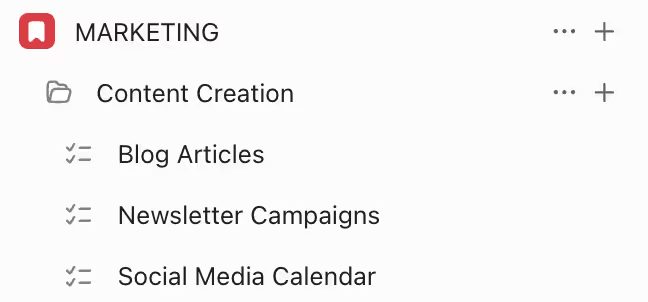
Lists organized inside a Folder
Every task in ClickUp must belong to a List. This is the level where you will spend most of your time managing work.
Level 4: Tasks
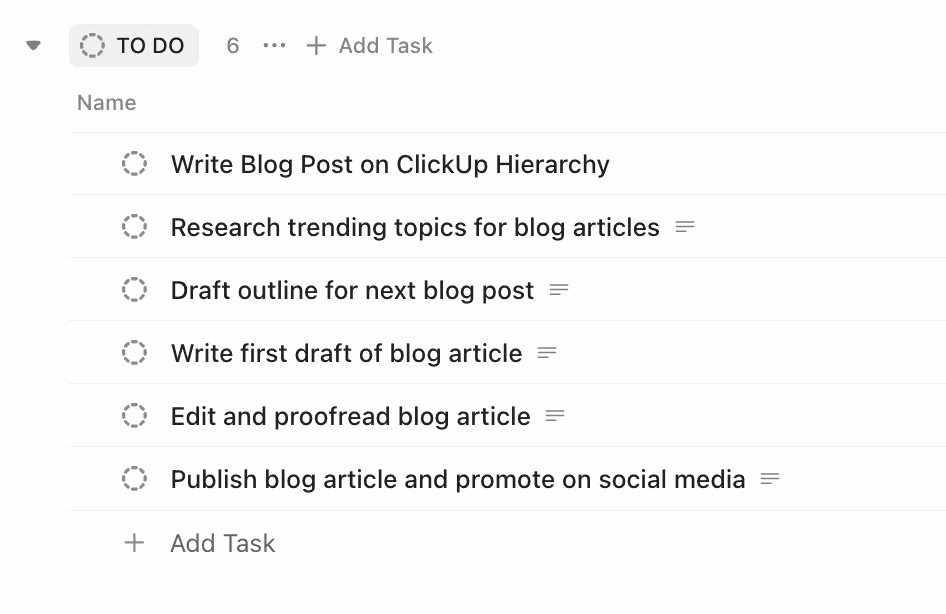
Tasks are the fundamental building blocks of work in ClickUp. A task represents an actionable item that needs to be completed. It contains all the critical information: what needs to be done, who is responsible, the due date, comments, and attachments.

Tasks inside a list
Level 5: Subtasks & Checklists
Beneath tasks, you have two ways to break down work even further: Subtasks and Checklists. While they seem similar, their functions are distinct.
Subtasks vs. Checklists
When to Use Subtasks
Choose a Subtask when a piece of a larger task is a significant action that requires its own metadata. Subtasks are the right choice if you need to:
- Assign the step to a specific person.
- Set a unique due date for that step.
- Track time spent on that specific action.
- Have a dedicated comment thread for discussion about that step.
Nested subtasks
For a task like "Write Blog Post on ClickUp Hierarchy," Subtasks could be: "Conduct Keyword Research," "Create Outline," and "Write First Draft." Each can be assigned to different people with different deadlines.
When to Use Checklists
Choose a Checklist for simple, procedural items that do not need individual management. A Checklist is perfect when you just need to confirm a series of steps has been completed. They are ideal for:
- Definitions of Done ("Did you check for typos?").
- Standard Operating Procedures (SOPs).
- Simple reminders within a task.
For the same "Write Blog Post" task, a Checklist could be: "1. Run through spellchecker, 2. Add 3 internal links, 3. Optimize meta description." These are just quick verification steps for the assignee to tick off.
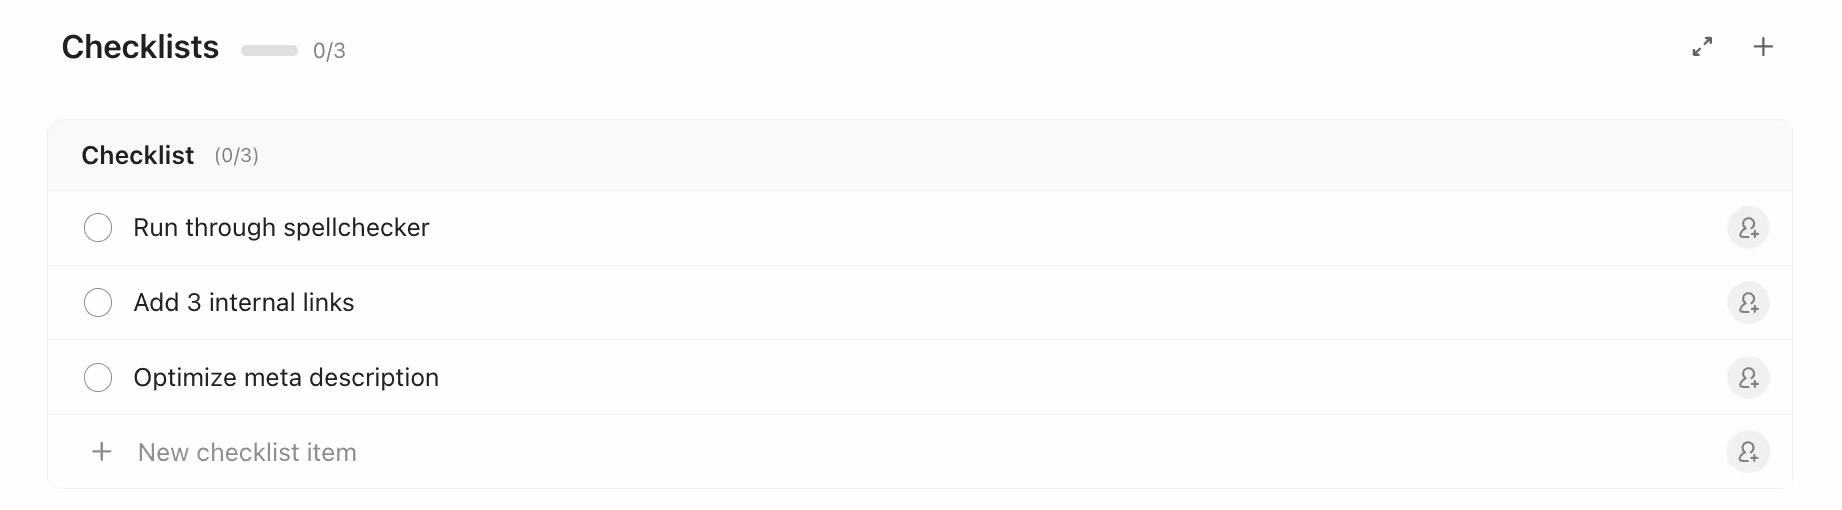
Checklists inside a task
As a rule of thumb, limit yourself to a maximum of three levels: Task -> Subtask -> Nested Subtask. If you find yourself needing more depth, it is a strong signal that your initial task should have been a List, and your subtasks should have been tasks.
Understanding ClickUp's Inheritance System
If you remember only one thing from this guide, let it be this: ClickUp operates on a system of inheritance. Settings and configurations applied at a higher level automatically cascade down to every item below it.
How Inheritance Works
Settings and configurations created at higher levels automatically apply to all items below them:
- Space-level settings → apply to all folders and lists within that space
- Folder-level settings → apply to all lists within that folder
- List-level settings → apply to all tasks within that list
This inheritance applies to:
- Custom statuses
- Custom fields
- Templates
- Automations
- View configurations
- Member access permissions
A Step-by-Step Blueprint for Your ClickUp Structure
Follow this four-step process to build a ClickUp hierarchy that works for your organization.
Step 1: Diagram Your Real-World Workflow (The Mirroring Method)
Do not start by clicking buttons in ClickUp. Start with a diagramming tool (like Whimsical, Miro, or even ClickUp's own Whiteboards) or a simple piece of paper.
Ask these questions:
- What are our main departments or functions? (These will become your Spaces).
- Within each department, what are the major teams or initiatives? (These will become your Folders).
- What are the specific projects or ongoing processes each team manages? (These will become your Lists).
Let's use our marketing example. The diagram would look like this:
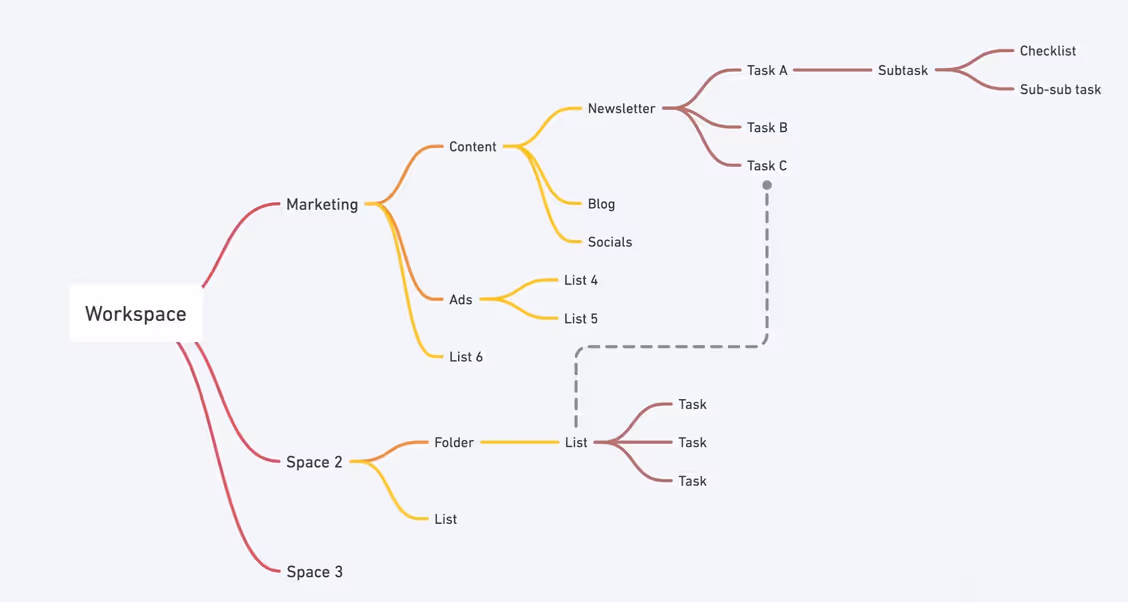
Mapping ClickUp Hierarchy
Mapping this out first gives you a clear plan and prevents you from making structural mistakes inside the application.
Step 2: Build Your Spaces and Folders
With your blueprint in hand, go into ClickUp and create your structure.
- Click the + button in your sidebar and select "Create Space." Name it, pick an icon, and decide if it should be private or accessible to everyone.
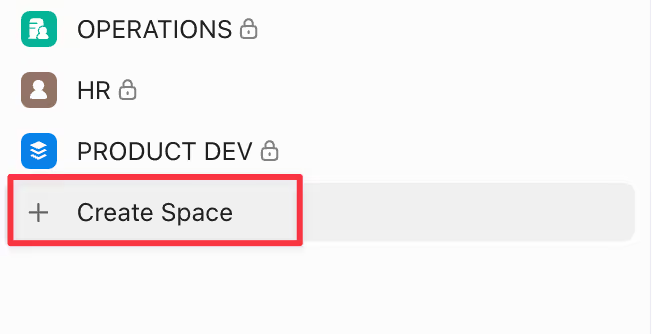
Creating a space
- Inside your new Space, click the + next to its name and select "Folder." Create the Folders you diagrammed.
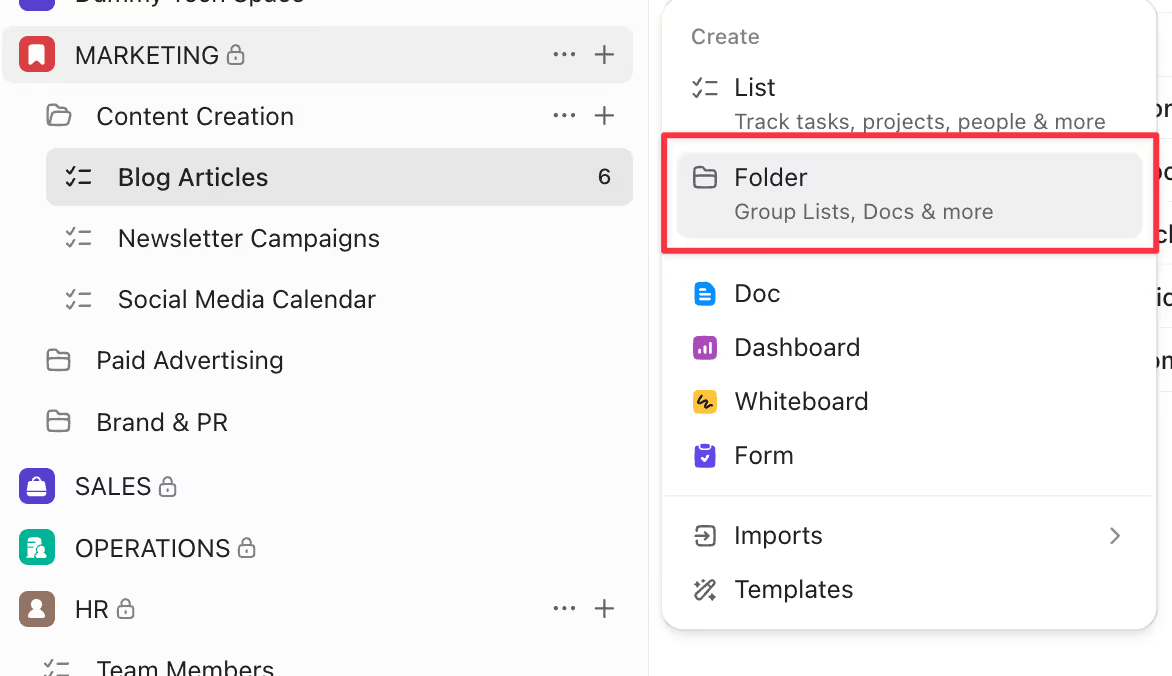
Creating a folder
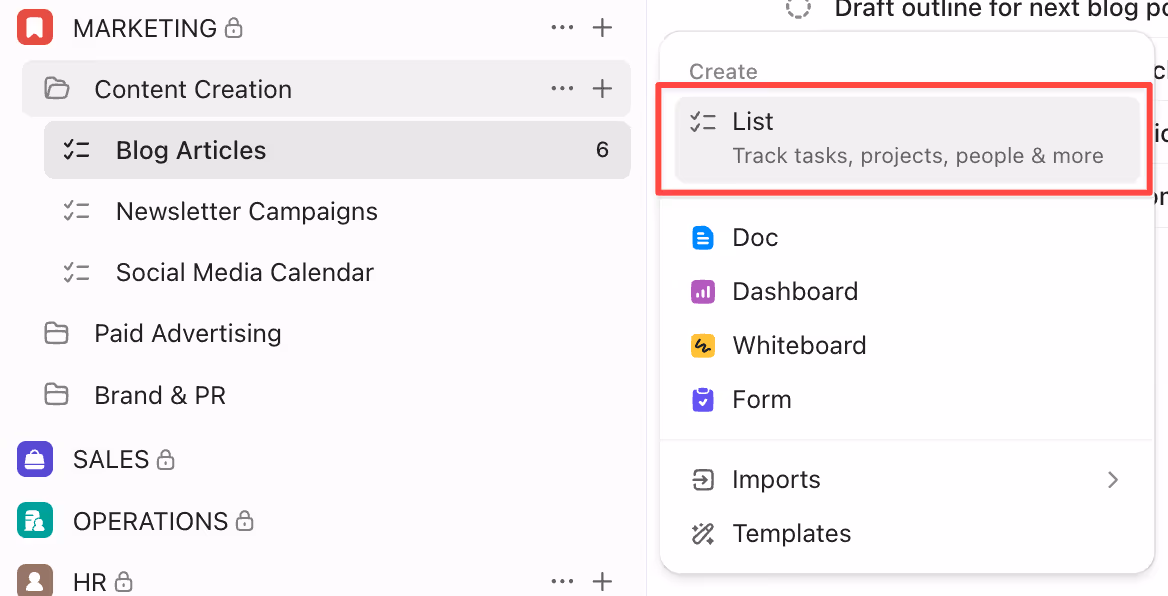
- Within the appropriate Folders (or directly in the Space), create your Lists.
Creating a list
ClickUp automatically creates a default List when you make a new Space. You can rename this or delete it as needed to match your plan.
Step 3: Start Lean
Now it is time to apply statuses, custom fields, and other settings. Resist the urge to make global changes at the Space level unless you are 100% certain that setting applies to every single project within it.
ClickUp offers a massive library of features called ClickApps. When setting up a new Space, ClickUp will ask you which ones to activate.
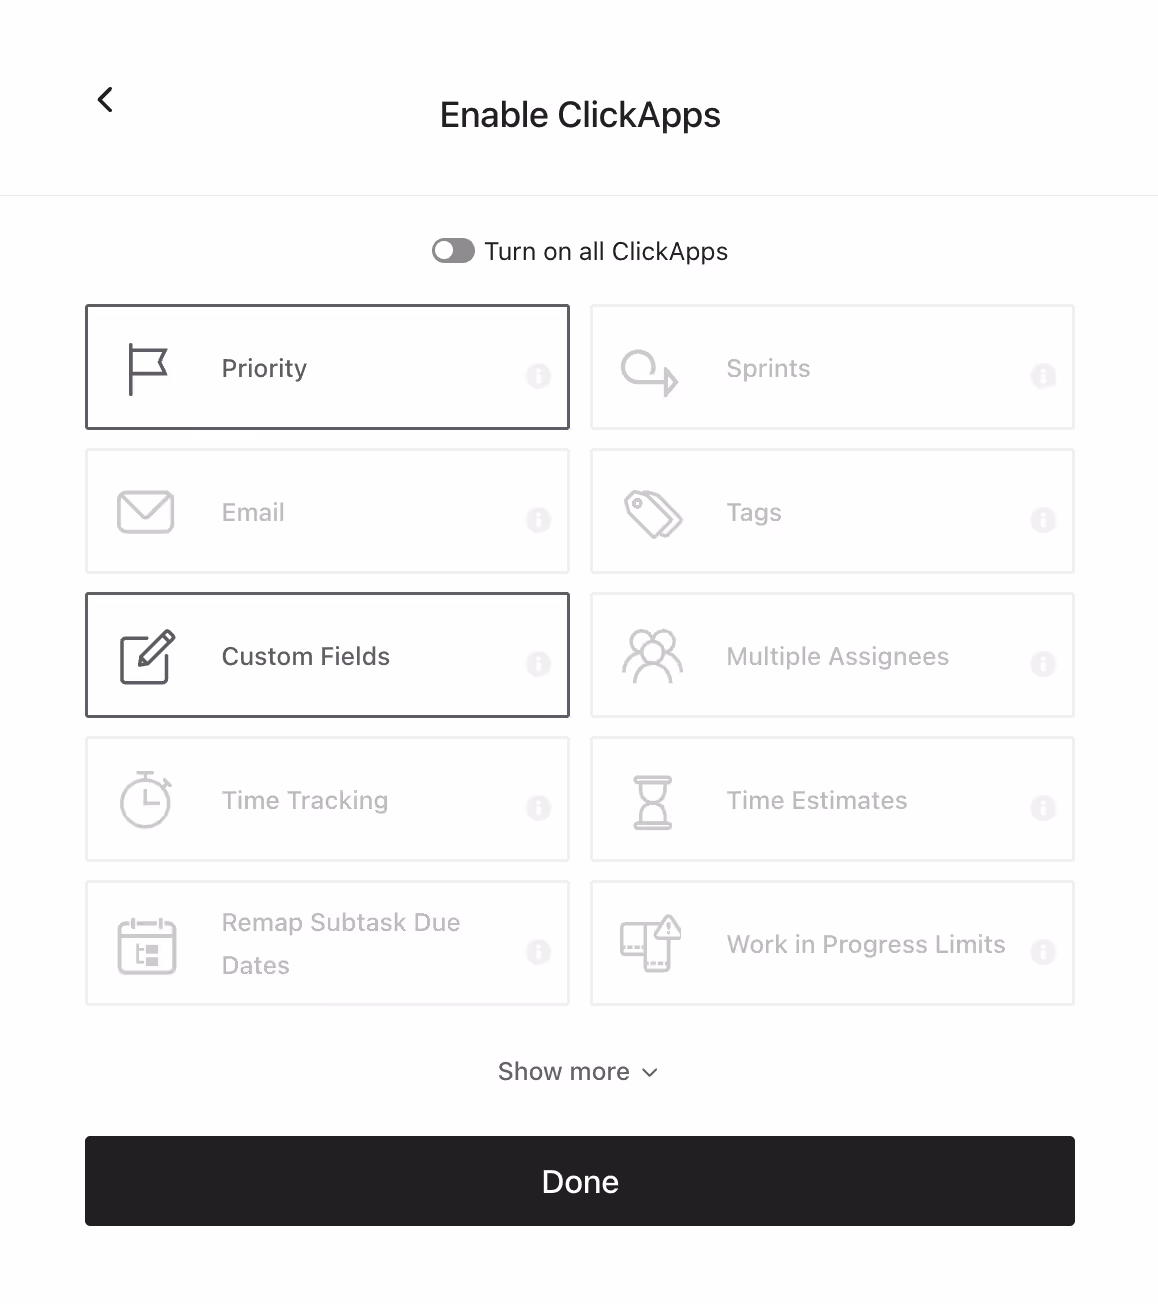
The best practice is to turn them all off by default. Then, ask yourself, "Which features do we absolutely need right now?" Turn on only the essentials, like Priorities and Custom Fields. You can always add more later.
Enable basic ClickApps
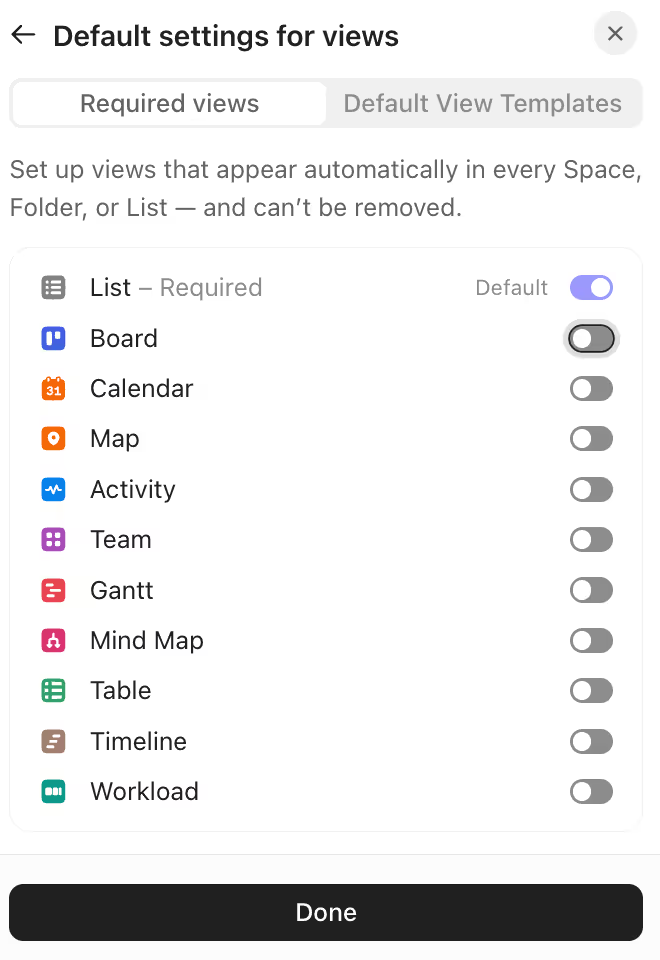
The same goes for Views (like Board, Calendar, Gantt). Start with only the "List" view. This reduces visual clutter and makes the initial experience much less overwhelming for your team.
Default setting for views
3 Common ClickUp Hierarchy Mistakes (And How to Fix Them)
Learning from the missteps of others is the fastest way to build a great structure. Here are three of the most common mistakes teams make. For more practical strategies to keep your workspace clean and efficient, see our Best Practices in ClickUp.
Mistake #1: The Overloaded "General" Space
Many teams create a single Space called "General" or "Company" and dump every project into it. This completely defeats the purpose of the hierarchy. It becomes impossible to set department-specific settings, and the sheer volume of Lists and Folders makes finding anything a chore.
The Fix: Take the time to create distinct Spaces for each functional department (Marketing, Sales, Ops). This immediately creates clarity and allows each department to have a customized environment tailored to its workflow.
Mistake #2: Anemia in Your Lists (Fewer Than 20 Tasks)
Another common error is creating too many Lists. If you have multiple Lists that consistently have fewer than 20 active tasks, it is a sign that your structure is too granular. This fragments information and requires people to jump between too many places.
The Fix: Review your Lists. If you find several with low task counts, consider merging them. For example, instead of separate Lists for "Twitter," "LinkedIn," and "Instagram," create a single "Social Media" List. Then, use a "Platform" custom field to differentiate the tasks. This consolidates the work into one view.
Mistake #3: Ignoring the Inheritance Rule
As discussed, the most critical mistake is applying settings at too high a level. This leads to cluttered tasks, confused team members, and a system that feels bloated and inefficient. It is the number one cause of frustration in new ClickUp workspaces.
The Fix: Be disciplined. Before creating any custom field, status, or automation, ask yourself: "What is the absolute lowest level in the hierarchy that needs this?" Make it a habit to apply settings at the List or Folder level first, and only move to the Space level if it is truly a global requirement.
Conclusion
By mirroring your company's structure, respecting the principle of inheritance, and prioritizing simplicity, you create a scalable operating system for your entire team.
The initial time invested in diagramming your workflow and thoughtfully building your hierarchy will pay massive dividends. It will reduce friction, improve adoption, and ultimately give your team the clarity it needs to do its best work. Start with this blueprint, audit your current setup if needed, and commit to maintaining a clean, logical structure.
UpSys Support for ClickUp
At UpSys, we specialize in helping teams optimize their project management processes using ClickUp. Whether you are considering adopting ClickUp or looking to maximize its potential for your team, our expertise in setup, consulting, coaching, and training will ensure you get the most out of this versatile tool. Contact us to learn how we can tailor ClickUp to fit your team's unique needs and propel your project management to new heights.